Sunday 26 September 2010

Problem with Extruder heater - Solved

In recent days I have been trying all sorts of things to get my RepRap Mendel working. After initial tests which were successful, the machine electronics proved to be very unreliable.

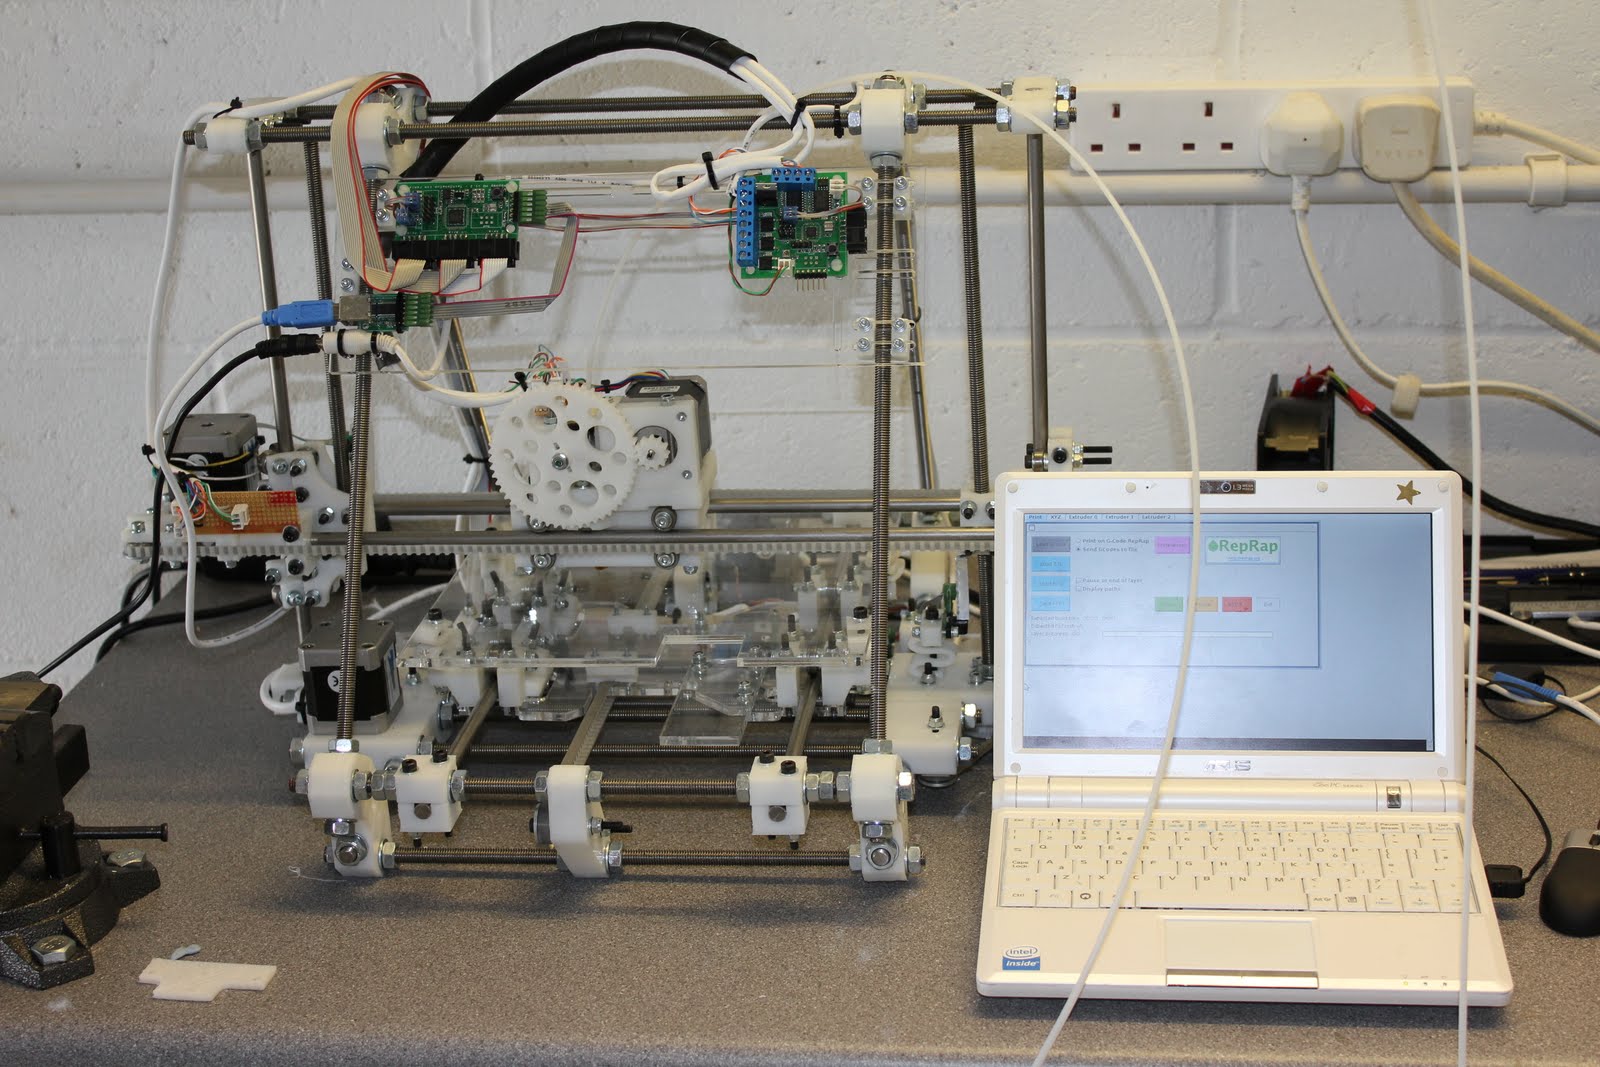
I have used over 3Kg of ABS without a single successful complete print. The problem was that at some point during the print the extruder controller would shut off the extruder heater for no apparent reason. Obviously this stopped molten ABS from flowing out of the extruder and I had to abort the print.

I tried all sorts of settings when generating the GCode cos folks on the RepRap forums indicated that the problem might be with the code, but had no luck there. I was quite sure that the problem lied within the hardware and when I exhausted all my other options I fired out an e-mail to Kimberley of Techzone asking for help in solving this issue. She did promptly come back to me as usual, but the answer was that I need to wait till Tuesday when the guy that can help me returns from an exhibition they are attending.

As they say, necessity is the mother of invention. I thought to myself that building an independent heater controller shouldn't be rocket science (even if it was I was determined to succeed). A quick scavenge through my pile of junk and the neatly packed stuff that my girlfriend owes (she is also an electrical engineer) resulted in an interesting find. A couple of TIP3055 (Data-sheets http://www.bourns.com/pdfs/tip3055.pdf) capable of handling 10 Amps. True, this transistor is an overkill but there again, I'm eager to get a complete print.

A couple of quick calculations led to the following circuit diagram which I built on a "breadboard" (technical term for prototyping board), connected to the extruder heater and fired it up..... Fantastic!! Seems to work!
The components in blue are off-board and I inserted scavenged connectors on the strip board I set out to build. Below are images of both the front and rear of the board for anyone that wishes to build one. The idea behind this circuit is that when the Thermistor (which is an NTC - Negative Temperature Coefficient - which means that with rising temperature the resistance decreases) is heated up, and its resistance decreases, the voltage across the resistor decreases until it switches off the transistor. With the transistor off, the extruder heater is also off so it begins to cool. This results in the thermistor increasing its resistance and hence voltage drop which triggers the transistor again. The result is that the transistor/thermistor combination find a happy medium and settle at an ideal state where the temperature is roughly constant. This is also known as a Proportional Controller. The LED is a simple indicator of when the temperature is at its pre-set state since when the transistor switches off, the current flows through the LED turning it on. The LED is dimmer than usual when the transistor/thermistor are in equilibrium. If the LED is brightly on, then the temperature is too high and the transistor (and hence the heater) would be turned off at that time.

Component Side
Solder side
I mounted the board on my RepRap and started testing with just the new board powered on. I observed that the molten ABS was actually much wetter even if I set the temperature (by turning the variable resistor VR1) and much stickier too. My assumption is that since the techzone electronics control the temperature by turning the power on or off in a digital manner this was causing high fluctuation in temperature. On the other hand my Proportional Controller varies the power in an analogue and smoother manner thus resulting in a consistent flow of molten plastic. This theory still needs to be proven, but that's for a later date. At the moment I'm over the moon that it works.

Loaded the GCode and hit print..... All was well up to layer 23 when the extruder motor stopped working, but at the next layer it started again so no great loss there. At layer 48 it did it again, but this time it didn't restart at the next layer and neither the following (see gap in finished product) I waited until the printer went to its zero position between layers and hit the Reset button on the extruder controller. Luckily it started extruding again.

At layer 97 it did it again, but this time I hit the reset button immediately as it went to the zero position. It worked and the printer continued to finish the product....

Finally an entire print, although I had messed up the settings so much that it will be binned anyway. Hopefully by tomorrow I'll have a decent print to post as this is no looker.

A somewhat finished product

Ooh, almost forgot! I also inserted a link to short the two terminals where I use to connect the thermistor before (on the Techzone extruder board) this fools the board into thinking that the temperature is high enough and that it doesn't need to switch on the heater MOSFET.

Tuesday 21 September 2010

Success at Last!!

Call it third time lucky, call it coincidence.... IT WORKED!!. My printer is alive and kicking and working a treat.

The replacement extruder board arrived as promised by TechZone, I just flashed the firmware, hooked it up and powered the device up. I firstly made sure the print bed was at the right temperature (around 110C) then hit the print button and there it goes.

Actually I just realised that it's too late in the day to start printing as this print will take a solid 7 hours. I need to be at work by they but before that I need to catch a wink of sleep.

Printing second layer                                                                         
Its now at the 8th layer and everything seems to be going well, however I have to stop the printing and go to bed as tomorrow I need to be at the office early.

Since the print bed is being kept at a constant high temperature I don't trust leaving the printer working on its own. Don't want to burn the house down with me in it.


Sunday 19 September 2010

Heated Bed - Third Attempt

During a quick visit to a local B&Q store, I found myself browsing through the selection of aluminium and steel sheets they had on display. The thickest aluminium sheets they had was 0.5mm which were hardly of any use for my application. They also had some steel sheets. One was 1.5mm thick with holes in it (would make an ideal heat dissipater under the main print bed) and another steel sheet, this time a flat non perforated one, which was 0.75mm thick.

The idea was to stick the iron to a lower bed that heats up and distributes heat as evenly as possible to avoid hot-spots while transferring that heat to a flat, removable print bed held on by binder clips as per Adrian Bowyer’s reprap printing video.

This was no budget purchase... the sheets would cost nearly £60 but I needed a quick and decent solution as this build has now taken over 100 hours and I’m running out of time as Uni starts soon (and very looking forward to it!)

On my way to the checkout counter I spotted something interesting.... An aluminium shelf, probably for fitting in a bathroom. I measured it up and the width was just 2mm short of what I needed.... perfect!. The cost was just £14 something. The only downside was that the edges were turned to 90 degrees on one side and two 90 degree turns on the other forming a ‘C’... nothing that a hacksaw and a file can’t solve, so I ditched the steel sheets and headed for the checkout counters knowing that I made a bargain.

Once home, I hacked through the aluminium shelf to produce 2 identical reprap size beds. On one I bolted on the iron with the same method I used before (i.e. two strips of aluminium pressing down the iron by the mounting bolts of the bed), on the other I drilled 10mm holes in place where the mounting bolts go so that the bolt head and the washer won’t create a gap in between the two sheets of aluminium.
It took me all day to finalise these (and not without its mishaps). When everything was assembled I powered on the reprap and started per-heating the extruder. I wanted to test on a cold bed first to make sure everything was aligned and working. While having a cuppa, I noticed that the temperature of the extruder wasn’t increasing. I reset everything and tried again, but it’s still a no go, even after a number of retries. I touched the components on the extruder board to see if any of them were heating up and to my amazement the nozzle heater started working as soon as I touched the Atmel processor.

This only lasted a short while. After close inspection I realised that the processor had such bad soldering that my neighbour’s cat could have done a better job. Techzone seem to have very poor QC. Luckily their customer service compensates for this. I had already reported issues with my extruder board last week and they agreed to send me a new one free of charge and should arrive early this week.


Third attempt to be continued...

Heated bed - Second attempt

I finally managed to get my hands on a piece of Dibond material (curtsey of CraigRK). A quick calculation around the number of nichrome wires I need, the length of each wire and the capabilities of the power supply at hand lead to 4 wires just shy of the overall length of the bed. The wires were stuck on to the Dibond by means of kapton tape. I also taped a thermistor to the top side of the Dibond to measure the surface temperature. With everything powered on I eagerly awaited the temperature to rise and settle before taking a reading. Maximum temperature reached was 65C at the edges with 68 at the center.... definitely not enough!

I still decided to give it a go, but although initially the ABS was sticking, this was only for a while. When the reprap started the in-fill, the print detached from the bed and was running all over the place.

Back to the drawing board.

I needed something that could generate a decent amount of heat (around 100C to 120C) and after some though I had an eureka moment..... An iron should do the trick! I had a used iron somewhere in my pile of junk which wasn't performing well when using the steam function and we had bought another one quite some time ago, but I never threw the old one away.

I quickly dismantled it and mounted the cast aluminium part that contains the element upside-down under the Dibond sheet. I even left the thermostat on it to control the heat. I raised the heat slowly, each time monitoring the temperature but when the temperature got to around 100C I could see that the top layer of aluminium in the Dibond sheet had warped quite badly. There was a difference of 3mm to 4mm from the center to the edge. I left the Dibond sheet to cool down but the warping was still evident although less then when it was hot.

Dibond sheet was binned. In hindsight the Dibond sheet was never designed to operate at the temperatures I needed and might have been  good for HDPE at temperatures of around 65C

There was also another concern with the bed reaching such high temperatures. The bolts holding the bed where attached to a repraped part. If these exceed the 90C mark, the pressure on the part from the two nuts and washers was going to deform this part and my bed wouldn't be flat and aligned any more. With some quick thinking and a look around my workshop, I came up with what I believe is an ingenious solution ;-)

I stacked a bunch of washers and penny washers alternatively on to the 4 bolts creating a heat-sink that dissipates enough heat to keep the lower part of the bolt at less than 55C.

I'm going to have to get very creative if I want to resolve the heated bed issue on a shoe string budget.

Saturday 4 September 2010

First attempt at a heated bed

In short.... Complete failure.

Since I will be printing quite large parts I need the bed to be absolutely flat, therefore the ideal material would be glass. Having failed to print on cold glass I tried a number of things. Firstly I sourced the glass from an old cupboard sitting in the garage (hope my girlfriend is not reading this blog or I'll be in for it) cut it to size making 4 equal sized bits that fit nicely on the bed. The idea was to change the glass for a quick turn-around.

Firstly I stuck some nichrome wire to one side of the glass using kapton tape and placed a second bit of glass on top on the first. Needless to say after around 10 minutes the bottom glass cracked. (3 bits of glass to go).

Second attempt was similar to the first but with a thin sheet of steel (0.3mm thick) sandwiched in between to diffuse the heat better..... Same result, bottom glass cracked.

Third attempt saw 2 casualties (glass wise that is) the first slipped off the work bench and I guess you already know what its fate was. The last bit of glass was placed on top of the piece of steel. The steel (same 0.3mm thick) had nichrome wire taped to the bottom side. Preliminary tests looks promising with the glass reaching a temperature of 110C, 90C around 2 inches from the edges and 60C at the edge. I was quite please with that so I ran upstairs, fetched a piece of insulation material from the loft (at this rate the house is going to fall apart soon) and taped it to the bottom the steel were the nichrome wire is.

I also constructed 4 "Z" shaped brackets to hold everything in place and solve the issue of the print nozzle hitting the bed mounting bolt since the actual print bed is now elevated. I therefore proceeded to mount everything on the Reprap, aligned the bed and switched on the power supply for the heated bed.

I monitored the glass temperature for a while and when it reached 100C I turned down the current on the power supply in an attempt to keep the temperature constant. This seemed to work after a number of adjustments.

Excited, I fired up the Mendel to run a test print..... Clicked on "Home all" and...... crack!!! :-( the vibrations from the machine were enough to shatter the glass. Puzzled and disappointed I disposed of the glass.

I guess the vibrations and the pressure from the "Z" brackets was a bit too much for glass.

Glass bed idea now scrapped.

My First Print

In a desperate attempt to get the printer working I dismantled the acrylic bed and stuck it in the oven at 150C for 30 minutes. I know its a crazy idea by it worked!!

I prepared the printer and the linux machine all setup and ready to print. Using oven gloves, I mounted the hot bed on the Reprap, quickly levelled it and hit print and there it goes.

The downside to this is that the bed surface was quite soft and when the ABS was deposited on it, it leaves marks and even dents in the corner. On the plus side I know that the printer works and that there are no mechanical issues. I just need to figure out what to use as a heated bed.

Ooh but hang on! the extruder stepper motor stopped working.... I stopped the build (after around 12 layers), reset everything and tested the extruder again. Funny, its works. There is nothing wrong with the electronics or the hardware. It simply stopped extruding.

Another point to note is that the lower left hand bolt that hold the bed is being hit by the extruder every time the printer zeros its self  and starts printing again. This needs to be taken care of in the design of the heated bed.

I guess its back to the forums again. Meanwhile here's an image of my Mendel with the partially build part in the bottom left corner.

My Mendel running off an EEE PC Ubuntu Linux

Thursday 2 September 2010

It's ALIVE!

The new extruder board has been installed and extruding at a decent rate when temperature of the extruder barrel is set to 230C (Using ABS so needs higher temperature)

Very excited! Loaded the STL file which is a modified extruder part (current part is too flimsy and had to repair it with Araldite.... I figured out this is the first part that will break when I start using the Reprap regularly). Hit the print button and GCode is being generated.... Expected time is over an hour :-(

Finally its done..... loaded the GCode and hit "Print". As expected the Reprap went to the zero position then went to the dump position, turned on the heater (although it was already preheated) and after a while started extruding some material..... then off it goes!

Alas... another disappointment! The material is not sticking to the bed and is just following the extruder round forming a ball :-(

Too late in the day to figure this out... Will tweak the settings a bit tomorrow and see how it goes. Coming to think of it, a heated bed might solve the problem.

Build complete! Or is it?

Monday 30th August was a Bank Holiday here in the UK and I was determined to finish the build and start printing during the long weekend! Little did I know that the Reprap had other plans. As soon as I connected the 12 volt power supply, the extruder controller went "puff!!!" The motor controller chip on the extruder board went up in smoke. Apparently a loose strand of wire got trapped under the extruder board motor connector and shorted the chip. 

I had no choice but to order another extruder board from TechZone but since I'm running out of time (need to start revising for next semester) the shipping cost were exorbitantly high.... more than double the cost of the board!! Ouch!.

Today the board arrived and I had to pay an additional £17 in Duty! Never mind... Tonight I'll try to find some time to replace the board and get printing... Woohoo!

Saturday 31 July 2010

Genesis - Where it all begins

Hi. Welcome to my blog!
First things first.... A bit about myself and why I decided to build a RepRap machine.
I'm a part time student doing an MSc in Robotics and Artificial Intelligence. Having said that, don't be put off by the complexity of the project. You don't need an engineering background or be a rocket scientist to build the RepRap (or so is my impression at the start of the build). In any case I have't been doing any proper engineering work for over a decade and have since moved on to management (a hint on my age there!) I am also a keen diver, so look out for future underwater projects.

This project came about in an effort to have a prototyping machine available at home to build any parts I need for my dissertation (which I haven't decided what I'll be doing yet so any suggestions are welcome) without having to re-mortgage my house. The logical solution was clearly a RepRap machine, the latest being the Mendel version with Generation 3 electronics.

This blog is being build to help others that has similar issues and questions when constructing and assembling a RepRap Mendel as although I spent endless hour Googling related stuff, I couldn't seem to find answers to trivial questions (such as "is there a washer in between those two?"). I would have through that there should be a wealth of information out there since its an open source project, however this information is either not available or has eluded my search. Therefore please feel free to ask any questions you might have regarding your build.